Using the NCEA Reporting Page
This guide shows you how to create a list of students which includes the demographic and NCEA details you select. You can then view these details on the screen, select a student report to view, or copy or export the list.
Go to Reporting > NCEA.

The default student list has all students and their credit counts in NCEA Levels 1, 2, and 3.
First, choose the group of students you would like in the list.
To limit the list to a select group, choose Show more filters.

The following filters will become available. These are the same filters as in Student Reporting.

Section 1: Student Demographics
Filter students according to year level, or any of the demographic features shown.
Section 2: Qualifications and Certifications
Filter students according to whether they have passed or have yet to pass one or more of the NCEA certifications.
Section 3: Credit Counts
Filter students by the number of credits they have attained:
- Towards a given level of certification. All credits at this level and above will be counted. For levels 2 and 3, 20 credits from the level below will be counted.
- At the same level and above. Credits at lower levels will not be included.
- At this level only. Only credits at the level chosen will be counted.
Section 4: Approved Subjects
Filter Year 13 students according to their progress towards the UE requirement of at least 14 credits in at least 3 approved subjects. Note that the names of approved subjects are as specified by the Ministry and may differ from your course names. Choose to filter by:
- The number of attained approved subjects. These are approved subjects in which students have attained the required 14 credits.
- The number of possible approved subjects. These are approved subjects in which students are entered for the required 14 credits.
Now that you have your selected group of students listed you can choose which details are shown in the list.
To choose what is shown in the list, click on Show column options.


Options are in four columns:
- Student demographics.
- Qualifications and Certifications.
- For the NCEA Level Certificates the level of endorsement is shown. Entries are:
- E: Excellence endorsement attained according to EdPotential’s calculations.
- M (Calculated): Merit endorsement attained according to EdPotential’s calculations.
- NE (Calculated): no endorsement according to EdPotential’s calculations.
- N (Calculated): the certificate is not yet attained according to EdPotential’s calculations.
- For UE, UE Literacy, UE Numeracy, L1 Literacy and L1 Numeracy entries are:
- Y: Yes.
- N: No.
- The above endorsements and certificates will be followed by either:
- Confirmed: the endorsement has been confirmed by NZQA.
- Calculated: the endorsement has been attained according to EdPotential’s calculations but has yet to be confirmed by NZQA.
- For the NCEA Level Certificates the level of endorsement is shown. Entries are:
- Credits Counts Included in the list by default are the credits attained at Level 1, Level 2 and Level 3. You may choose instead or in addition:
- L1+ Credits. These include credits attained at Level 1 and above.
- L2+ Credits. These include credits attained at Level 2 and above.
- L3+ Credits. These include credits attained at Level 3 and above.
- L1 Cert. Credits. These include all credits which count towards the Level 1 Certificate.
- L2 Cert. Credits. These include all credits which count towards the Level 2 Certificate.
- L3 Cert. Credits. These include all credits which count towards the Level 3 Certificate.
- Approved Subjects: In the filters you have two options:
- The number of attained approved subjects. This is the number of approved subjects in which students have attained the required 14 credits.
- The number of possible approved subjects. This is the number of approved subjects in which students are entered for the required 14 credits.
Now you have the group of students and the list columns you need!
Once you have selected the student group and the list columns you may choose to:
- View these details on the screen.
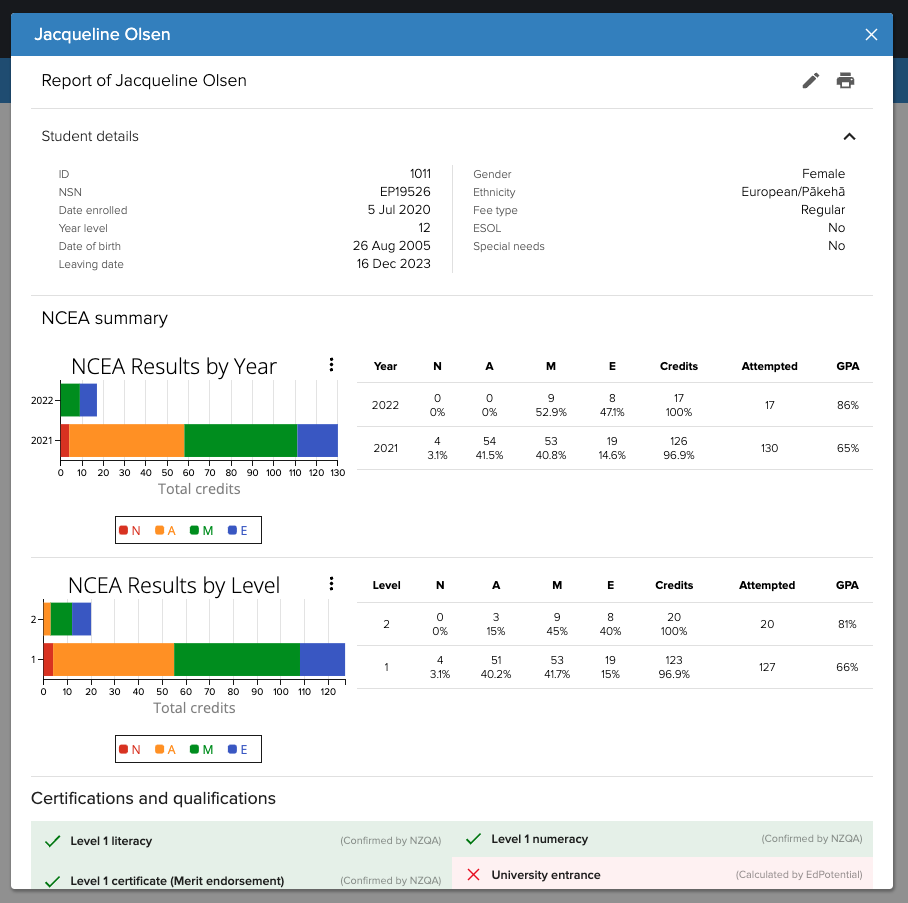
- To view more details regarding an individual student in the list, click on the student's name and their report will open.
 To close the report, click away from the report or click the X in the top right.
- To view more details regarding an individual student in the list, click on the student's name and their report will open.
- Copy the list.
- Export the list as a csv file.
 To close the report, click away from the report or click the X in the top right.