Setting up Google SSO with EdPotential
If your school uses Google Workspace (formerly known as G-Suite), you're able to enable Single Sign-On (SSO) with EdPotential. This article outlines how it can be set up.
In this article
Getting set up
From your G-Suite Admin console home page, go to Apps and then Web and mobile apps.
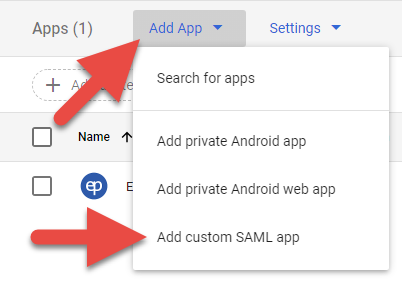
- Click Add App, then Add custom SAML app.
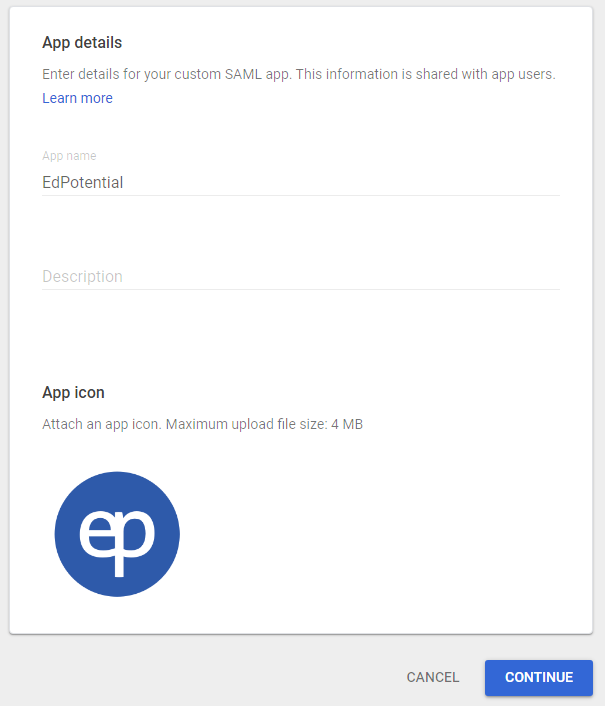
- Enter EdPotential as the App name. The description field is optional, and you can add this icon under the App icon field.
- On the Google Identity Provider detail screen, download the metadata.

- Send this link to us at [email protected] along with the email address for a staff test account. Send the password for the staff test account in a separate email.
- The test account needs to have the same email suffix and permissions as the rest of the staff in the school.
- Once received, we'll get everything set up on our end. We'll get back to you within one day with the information required for the next steps.

Secondary steps
Once you've received a reply from us, navigate back into the application up to step 3. listed above, and continue on.
- On the Service Provider Details screen, enter the following:
- ACS URL: <will be provided by email>
- Entity ID: <will be provided by email>
- Start URL: <will be provided by email>
- Signed Response: Leave unchecked.
- Name ID Format: PERSISTENT
- Name ID: Basic Information Primary Email.
- Click Continue

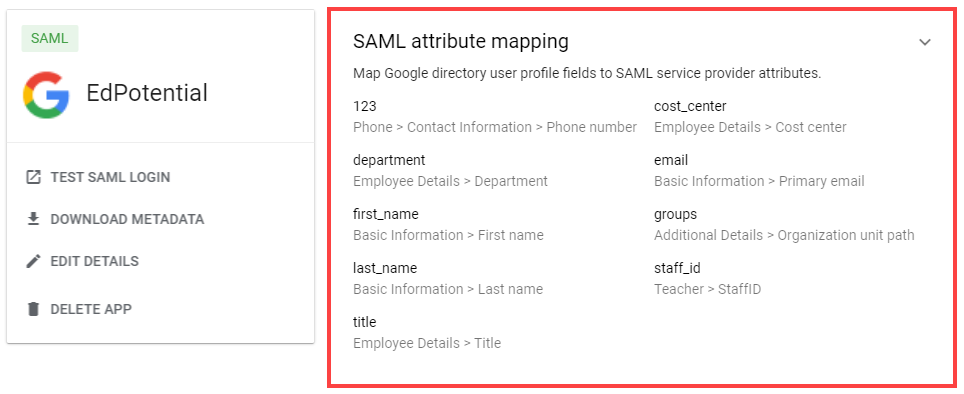
- On the Attribute Mapping screen, map the following attributes and click Finish:
- Basic Information > First name → first_name
- Basic Information > Last name → last_name
- Basic Information > Email → email
- If you have the staff ID that matches the one provided by your data source, add it as a mapping here linked to staff_id.

- Back on the Web and mobile apps page, click the new EdPotential app.


Managing access
-
You can choose groups that are allowed to access EdPotential from the app settings. Any user outside this group will receive an error if they attempt to log in.
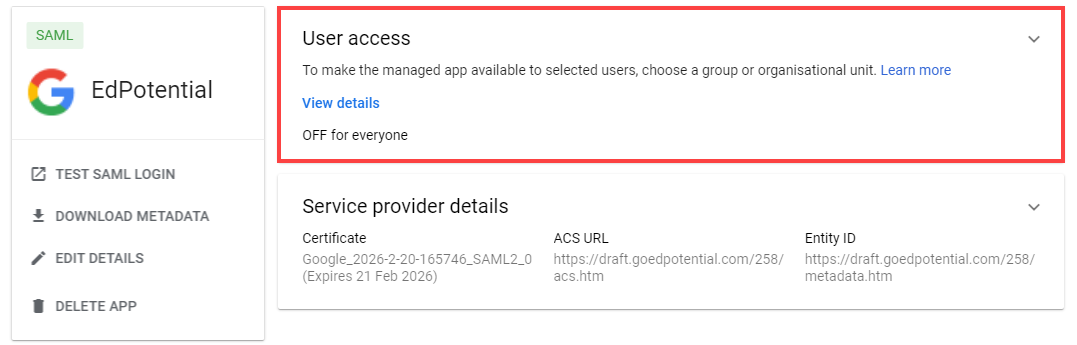
Anyone that is allowed access to EdPotential will be able to view all student records. These settings can be found under User access in the app settings.
- Click User Access on the EdPotential app settings page.
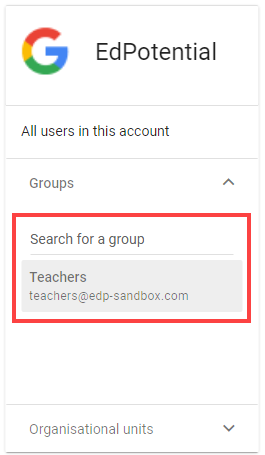
- On the left, select the Group or Organisational unit you wish to allow access to EdPotential.
- We suggest you add senior leaders and a staff test account at this stage. Senior leaders will advise later whether they want middle leaders or all teaching staff to have access.
- We also recommend avoiding adding a full staff group in case this may include staff members that are not teachers or those that should not have access to student data; for example maintenance staff.
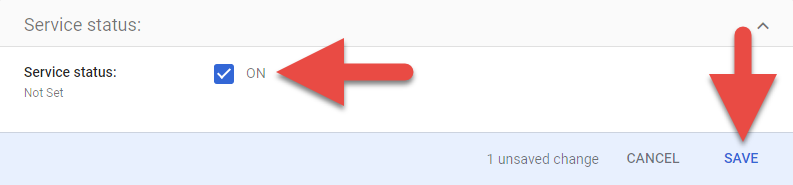
- Set the Service status to ON and click Save.
- Repeat steps 2-3 for all the Groups or Organisational units you wish to add.
Note that these changes can take up to 24 hours to propagate, and users in a newly added group will not be able to access EdPotential until this takes effect.
If users see the following error message when trying to log in to EdPotential, it's likely that the EdPotential App has not been switched on correctly:

-
In addition to you choosing the groups that are allowed to access EdPotential, we check what level of access that users should have to make sure they don’t see any sensitive information.
This can be useful for limiting groups to certain information, e.g. allowing students to access their own reports.
This is recommended because in the case where another group is accidentally allowed access to EdPotential, they still won’t be able to view sensitive information after logging in.
To do this:
- Click the SAML attribute mapping section in the EdPotential app settings.
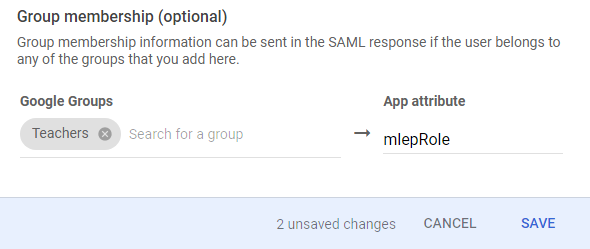
- Under Group membership (optional), select the group(s) you would like to have access to EdPotential, or select all of them if unsure. Set the App attribute value to mlepRole, and click save.
- Send us a list of the groups you would like to have access to EdPotential.
Testing
- Email us and let us know which one of the above options has been completed. Once we have received this confirmation, we will finalise the connection and commence testing.
Please note that users will need to be signed into their school-affiliated Google account in order to be able to log in via SSO (or at the least, not signed in to a different Google account).
Stuck? Please contact us for further assistance.